How to Build and Manage AI Agents with Google's Antigravity 2.0 and AI Studio on Android
Introduction
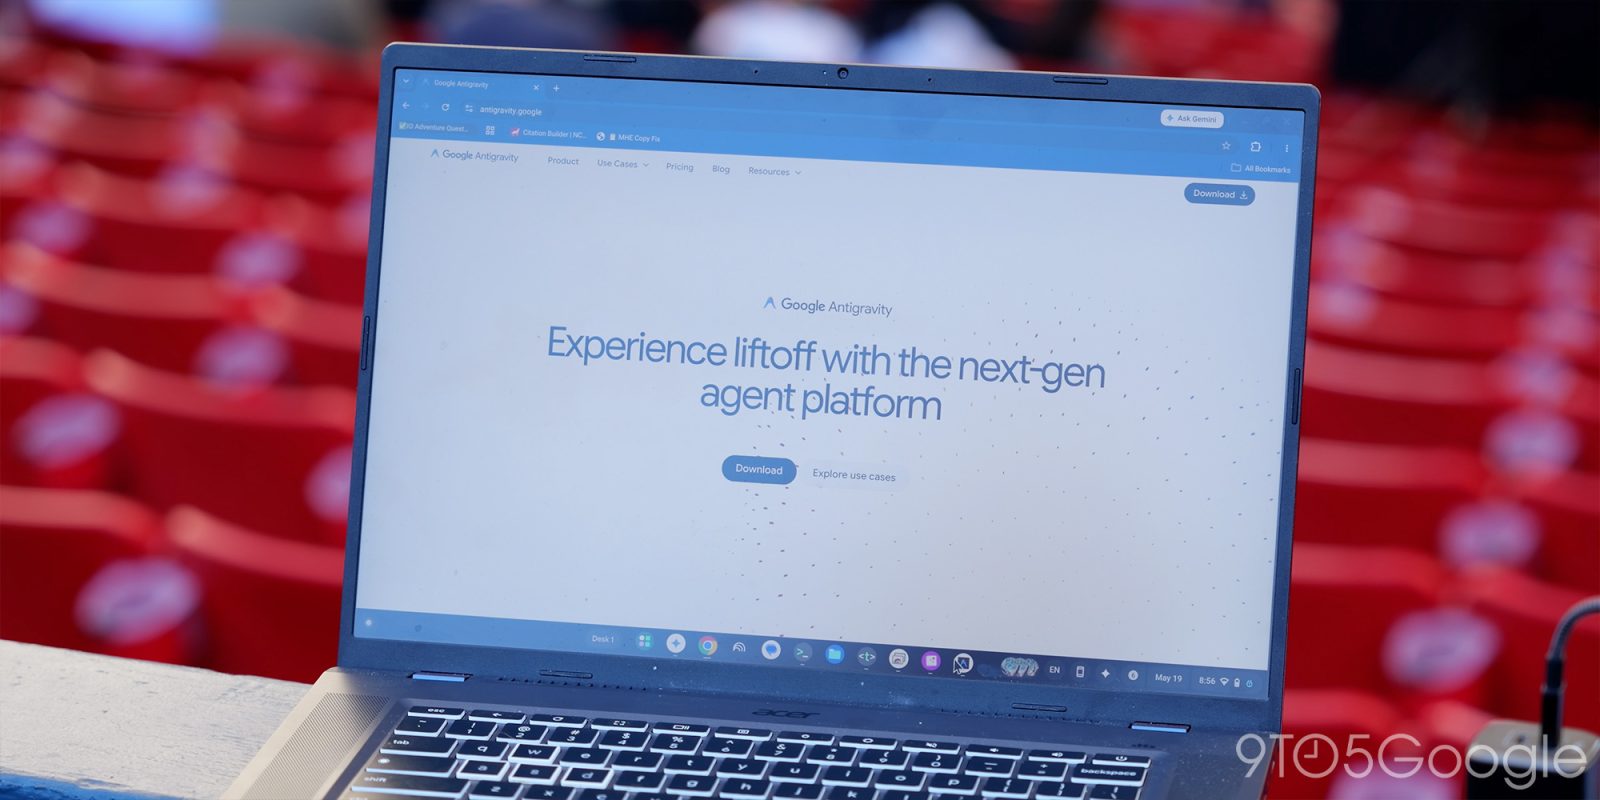
Google has revolutionized agent development by flipping Antigravity into a powerful agentic dev suite, now at version 2.0. Combined with the debut of the AI Studio Android app, you can build, deploy, and manage intelligent agents that perform frontier-level work—all at a fraction of the cost thanks to Gemini 3.5 Flash. This guide walks you through the entire process, from setting up your environment to running agents on the go.
What You Need
- A Google Cloud Platform (GCP) account with billing enabled
- An Android device (Android 10 or later) for the AI Studio app
- Basic understanding of AI agents and their lifecycle
- Gemini API key (available via Google AI Studio or GCP)
- Stable internet connection
- Optional: Sample test data or project requirements
Step-by-Step Guide
Step 1: Set Up Antigravity 2.0 Environment
Access Antigravity 2.0 through the Google Cloud Console. Navigate to the Antigravity section under 'AI & Machine Learning'. If you haven't used it before, enable the API. Create a new project or select an existing one. Follow the on-screen setup wizard to configure your environment, including region selection and service account permissions. This ensures your agents have the right access to cloud resources.
Step 2: Create a New Agent Project
Inside Antigravity 2.0, click Create Agent. Give your agent a descriptive name and define its purpose—for example, a customer support triage agent. Choose a base model; select Gemini 3.5 Flash for its low cost and high performance. Configure the agent’s behavior by setting instructions (system prompt), defining intents, and specifying response formats. Use the built-in templates if you need inspiration.
Step 3: Configure Agent Logic and Actions
Now define how your agent triggers actions. Use the Event-Driven or Schedule-Based trigger options. For event-driven, connect to sources like Cloud Pub/Sub or webhooks. For schedule, set cron expressions. Then assign actions: call external APIs, query databases, or send notifications. Each action can use Gemini 3.5 Flash for reasoning. Test the logic with the built-in simulator before going live.
Step 4: Deploy and Monitor Your Agent
Once configured, click Deploy. Antigravity 2.0 will package your agent and run it in a serverless environment. After deployment, visit the Monitoring dashboard. Here you can view invocation logs, cost metrics (Gemini 3.5 Flash usage), and error rates. Set up alerts for unusual activity. Optimize by tweaking the model parameters or adjusting triggers to stay within budget.
Step 5: Install the AI Studio Android App
Go to the Google Play Store and search for AI Studio by Google. Install the app. Sign in with the same Google account used for your GCP project. The app requires permission to access your agent library. Once signed in, you'll see a list of your deployed agents from Antigravity 2.0.

Step 6: Connect the App to Your Agent Projects
In the AI Studio app, tap the Sync button to pull your latest agent definitions. The app will display each agent with its current status. You can inspect agent logs, view performance metrics, and even trigger manual runs—all from your phone. The app uses end-to-end encryption to secure communication with Google Cloud.
Step 7: Execute and Manage Agents on the Go
Use the app’s Run button to manually invoke an agent. For example, if you have a report-generating agent, tap Run and fill in required parameters. The app sends the request to your cloud environment and shows results in real-time. You can also pause or stop agents from the app. This mobility is ideal for developers who need to respond quickly to production issues.
Step 8: Optimize Costs Using Gemini 3.5 Flash
Gemini 3.5 Flash is designed for high throughput at low latency. To maximize savings, review your agent’s prompt engineering—use shorter prompts and batch requests. In Antigravity 2.0, enable cost budgeting to cap daily spend. The AI Studio app shows a cost-per-invocation graph. Adjust your agent’s model to use Flash for less critical tasks and reserve premium models only when necessary.
Tips for Success
- Test in a sandbox before deploying to production. Antigravity 2.0 offers a sandbox environment where you can simulate agent interactions without incurring full cost.
- Use versioning for your agents. Save different versions of configuration to roll back if needed.
- Monitor with alerts—set up Cloud Monitoring notifications for when error rates spike or costs exceed thresholds.
- Leverage AI Studio’s offline mode to view agent summaries even without internet; changes sync when you reconnect.
- Keep Gemini 3.5 Flash prompts concise to reduce token usage and keep costs low.
- Share agents with your team using IAM roles in GCP; the AI Studio app respects those permissions.
- Stay updated with Google’s documentation as Antigravity 2.0 and AI Studio are actively updated with new features.